How to send Slack notifications through your APEX apps - Part 2
A closer look at the Slack API

Oracle APEX Developer (Insum) from Paris Contributor of Flows for APEX Passionate about APEX and web development.
Introduction
Continued from part 1 of this series on using incoming webhook to send Slack messages through an APEX application. This new post will focus on covering the missing features that incoming webhook cannot provide. To do this, we will use the Slack API to send messages securely.
Slack configuration
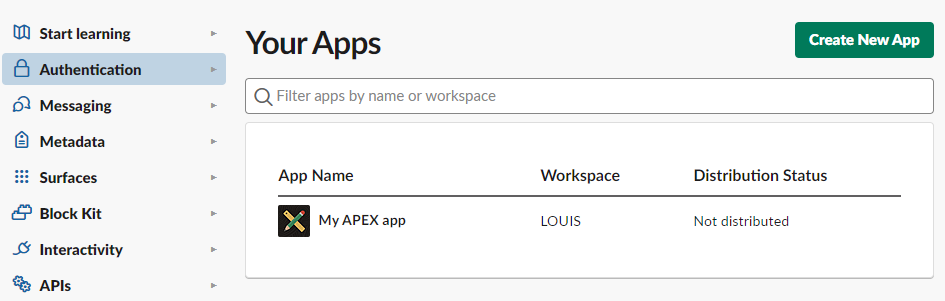
Go to https://api.slack.com/apps and edit the Slack application that was created in the first blog post.
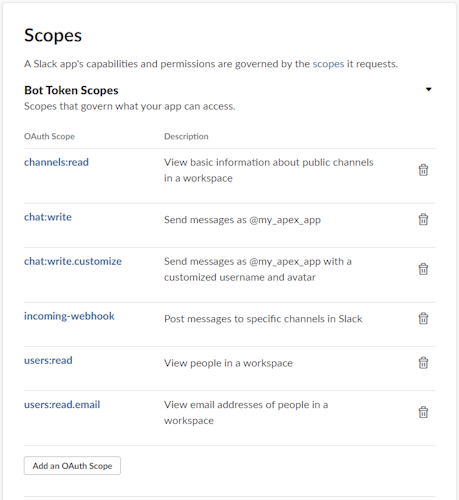
On the application management page, under Features on the left, click on OAuth & Permissions. Then scroll down to the Scopes section and add the ones shown in the screenshot below.
Oracle APEX app
Create the REST Data Source
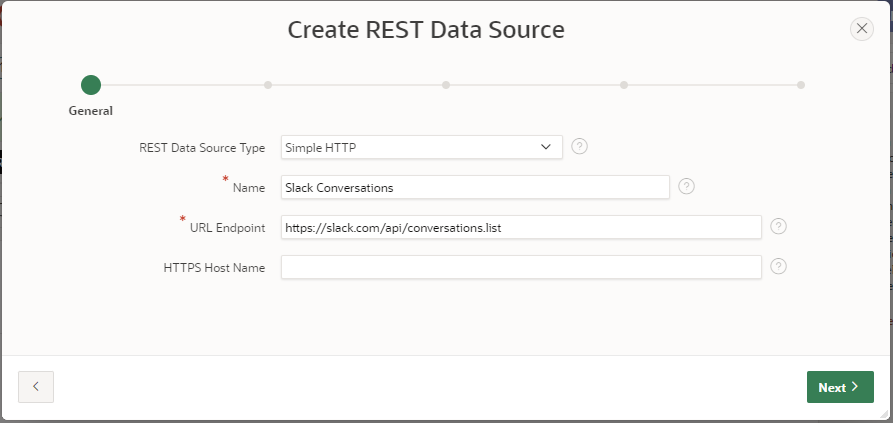
The idea here is to be able to select a channel to post our messages. To do this, you need to create a REST data source. In the first part of the wizard, enter Slack Conversations in the name field and https://slack.com/api/conversations.list in the Endpoint URL field.
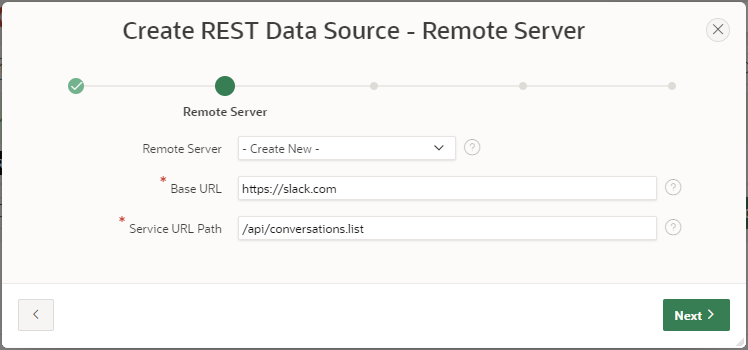
In part 2 of the wizard, make sure you fill in the same values as the screenshot below.
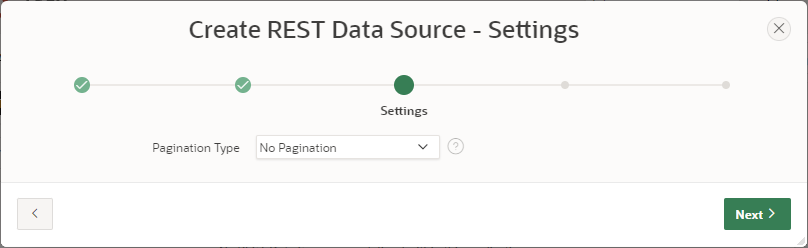
In part 3, leave the default setting at No Pagination. In fact, Slack's API does support pagination, but it's a cursor-based pagination that I don't think is supported by the box. One option could be to create a Data Source REST plug-in, but that is not the purpose of this blog post.
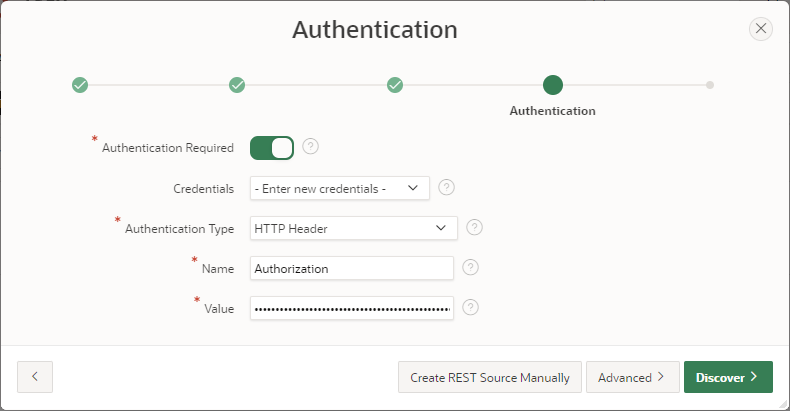
In part 4 you need to set the authentication settings, for this example I used an authentication token. You can find it on the Slack app management page, in the OAuth & Permissions section. Click the Discover button when all the fields are correctly filled in.
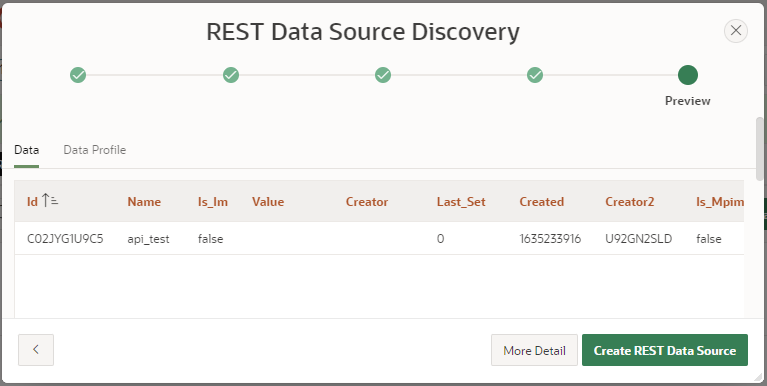
The last step should show the discovery report confirming that the credentials are correct. Click the Create REST Data Source button.
Create the LOV
To select the channel, before posting the message, we need a pick list or better yet a drop down list. Let's create a LOV under Shared Components to do this.
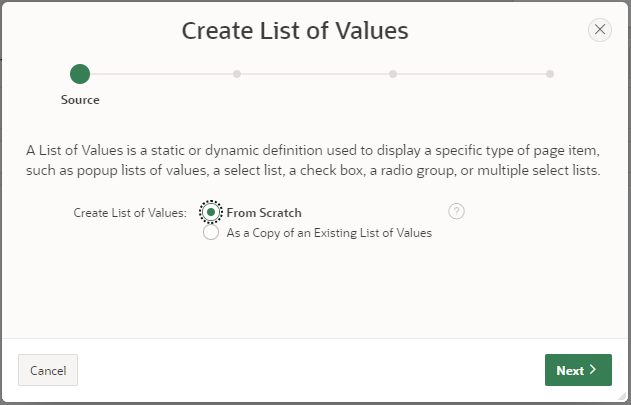
In Part 1 of the LOV Creation Wizard, choose the From Scratch option and click Next.
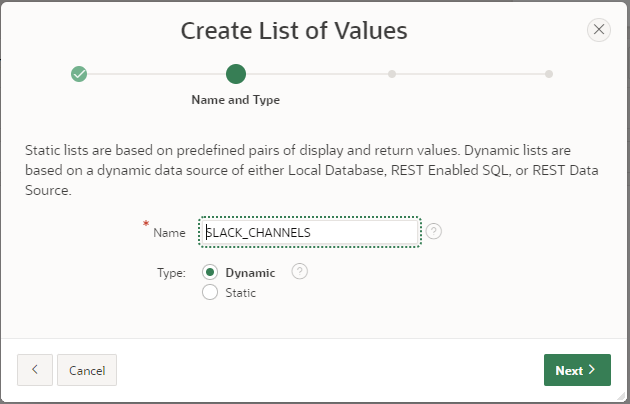
In Part 2 of the LOV Creation Wizard, choose a name, make sure you select the Dynamic option and click Next.
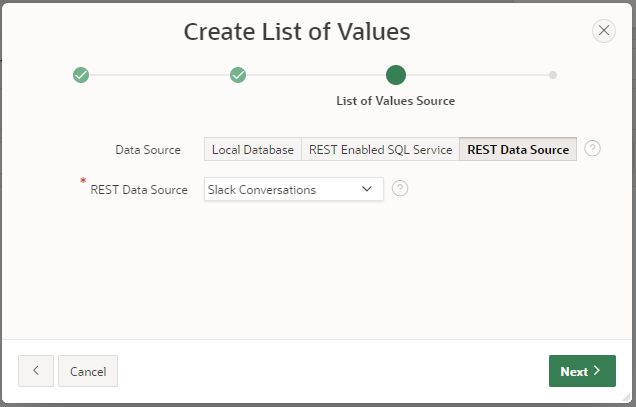
In part 3 of the LOV creation wizard, choose the REST Data Source option, select the one we just created and click Next.
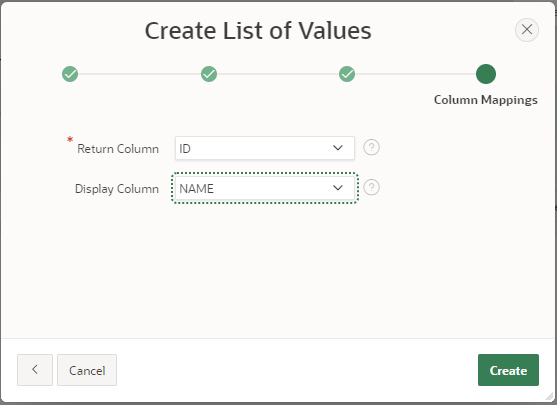
In the LOV creation wizard, part 4, make sure your return column is ID, your display column is NAME and click Create.
Creating the page
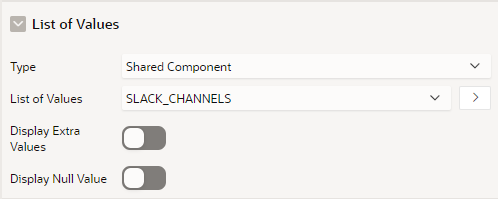
I'm essentially copying the page that was created in part 1 of this series and replacing the URL field with the string field. Just add a Popup LOV page element and choose our LOV under the Value List attributes.
Then I updated the PL/SQL process
declare
    l_url_endpoint varchar2(100) := 'https://slack.com/api/chat.postMessage';
    l_response     clob;
    l_text         varchar2(500);
    l_obj          json_object_t;
begin
    l_text := replace(:P3_TEXT, '**'   , '*' );
    l_text := replace(l_text  , chr(10), '\n');
    l_text := replace(l_text  , chr(13), '\r');
    l_text := regexp_replace(l_text, '^```[a-z]{1,}', '```');

    apex_web_service.clear_request_headers;

    apex_web_service.set_request_headers(
        p_name_01        => 'Content-Type',
        p_value_01       => 'application/json'
    );

    l_obj := json_object_t('{}');
    l_obj.put('channel', :P3_SLACK_CHANNEL);
    l_obj.put('text'   , l_text           );
    l_obj.put('mrkdwn' , true             );

    l_response := apex_web_service.make_rest_request(
        p_url => l_url_endpoint,
        p_http_method => 'POST',
        p_body => l_obj.to_clob(),
        p_credential_static_id => 'Credentials_for_Slack'
    );

    if apex_web_service.g_status_code > 200 then
        apex_error.add_error (
            p_message          => 'Unexpected error',
            p_display_location => apex_error.c_inline_in_notification
        );
    else
        l_obj := json_object_t(l_response);
        if l_obj.get_Boolean('ok') = false then
            apex_error.add_error (
                p_message          => 'Encountered the error: '|| l_obj.get_String('error'),
                p_display_location => apex_error.c_inline_in_notification
            );
        end if;
    end if;
end;
Test it 🚀
You should now be able to choose a channel and specifically post a message there. Let's try it
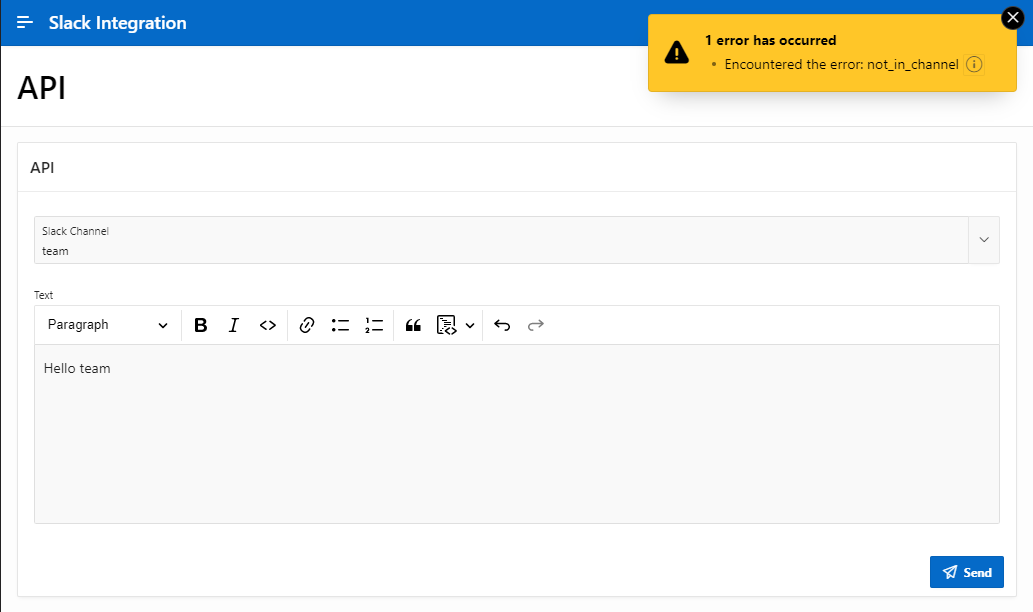
What, wait, it doesn't work the first time? Well, you need one more step to make it work, your bot needs to be added to the channels you want to notify. This is a one-time action, but it is necessary.
Right-click on your Slack application and click View Application Details.
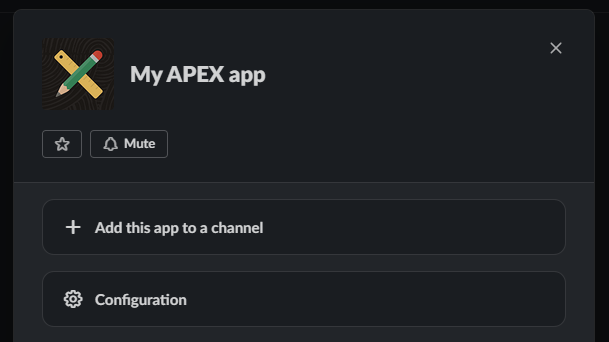
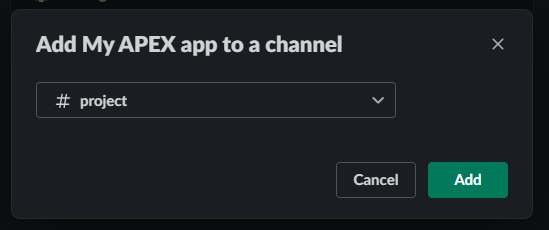
Click on Add this application to a channel, choose the channel and click on Add.
Now you are ready to notify on the channel you want!
Conclusion
This blog post covers the missing part of the incoming webhook and allows you to send notifications to multiple channels without having to create a webhook for each. I hope it can be useful to someone.
I have updated the demo app on this Github repository. You will have to add your credentials to make it working.
Ressources
- chat.postMessage documentation
- conversations.list documentation


