


Introduction
As you may know now, if you have read my previous blog post, I am a big fan of the Rich Text Editor (RTE) item. I published several blog posts on implementing cool features with CKEditor5 like image upload (part1, part2 and part3), mention or word counters. But in the latest APEX release 23.1, the library behind the RTE has changed and I already welcome TinyMCE in a previous post. Today I wanted to see how to implement the image upload feature within an Oracle APEX application with this new library.
Technical implementation
Similar to the previous library, we will need to store the images in a table, create a RESTful service to upload the images and serve them and finally configure the Rich Text Editor to enable the image feature. The following chapters will guide you through that.
Data model to store the images
This part is pretty simple, we simply need a table to store the blob and the mime type associated. Here is a SQL script you can use to create it.
-- create tables
create table tinymce_images (
    id           number generated by default on null as identity
                 constraint tinymce_images_id_pk primary key,
    image        blob,
    content_type varchar2(100 char),
    created      date not null,
    created_by   varchar2(255 char) not null,
    updated      date not null,
    updated_by   varchar2(255 char) not null
);

-- triggers
create or replace trigger tinymce_images_biu
    before insert or update
    on tinymce_images
    for each row
begin
    if inserting then
        :new.created := sysdate;
        :new.created_by := coalesce(sys_context('APEX$SESSION','APP_USER'),user);
    end if;
    :new.updated := sysdate;
    :new.updated_by := coalesce(sys_context('APEX$SESSION','APP_USER'),user);
end tinymce_images_biu;
/
RESTful Service
The RESTful service needs to have two separate templates, the first one is a POST that will be used to store the images in the table and the second one is a GET that will serve the image to the application. The last part will focus on securing these two endpoints.
Creating the TinyMCE ORDS module
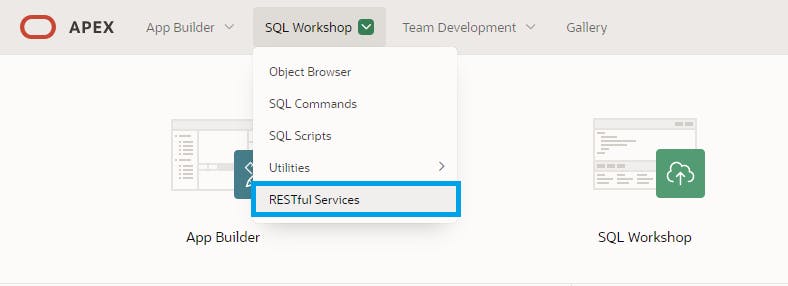
The first thing to do is to create a new module by navigating to SQL Workshop \ RESTful Services
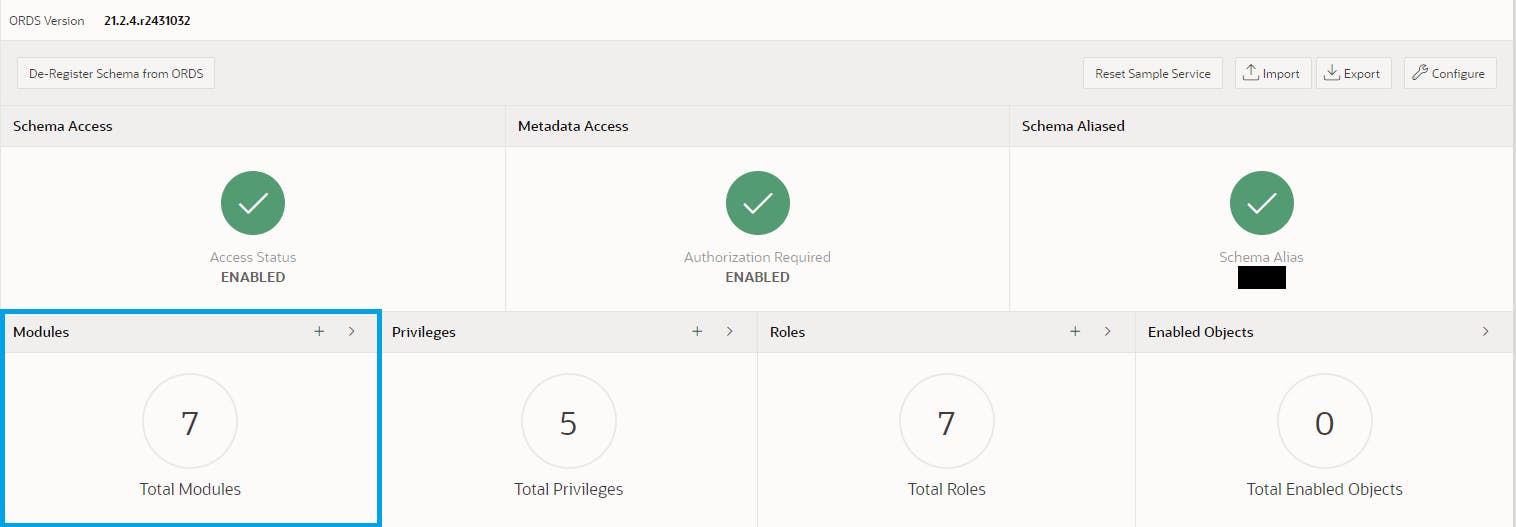
Then, on the RESTful Services page, create a new module by clicking on the "+" icon next to the Modules counter
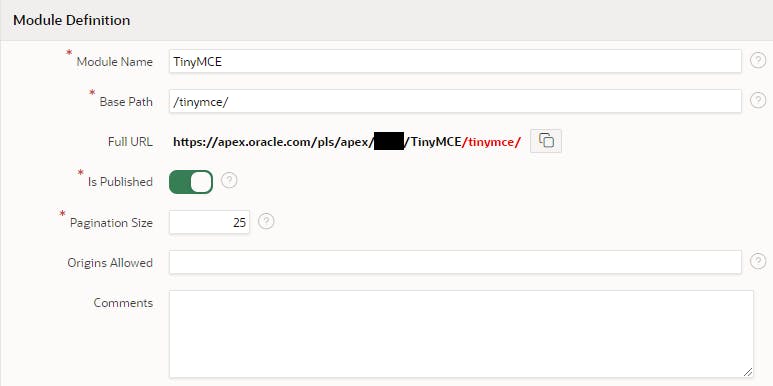
You will be redirected to a new page to create the module, fill in the form accordingly with the information below
Module Name: TinyMCE
Base Path: /tinymce/
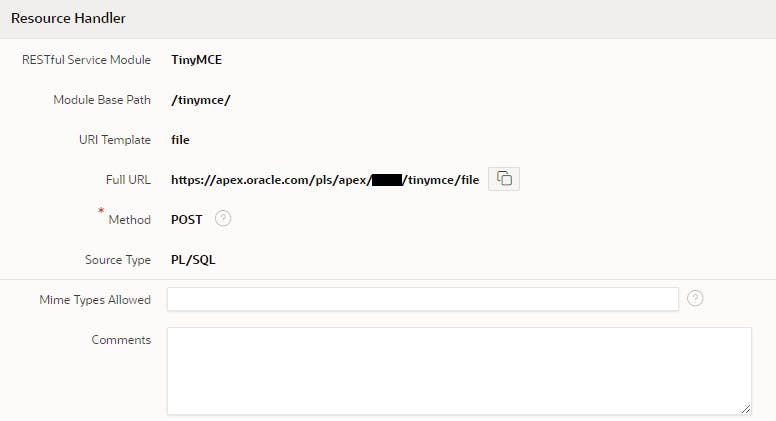
POST handler
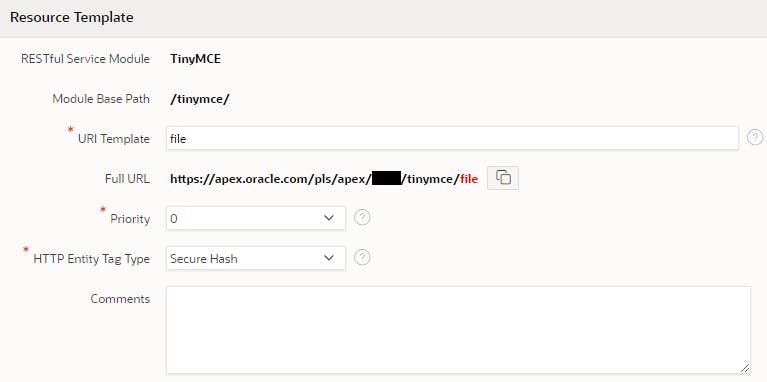
Once the Module is created, you will see a Ressource Template region where you will find a Create Template button. Click on it and fill in the URI Template with file
Then click on Create Handler and fill in the form with the following information
Method: POST
Source Type: PL/SQL
In the Source editor, you have to paste the PL/SQL code below
declare
    l_id number;
    l_blob blob;
    e_file_too_big exception;
begin
    dbms_lob.createtemporary(l_blob, false);
    l_blob := :body;

    if (sys.dbms_lob.getlength(l_blob) > 100000) then
        raise e_file_too_big;
    end if;

    insert into tinymce_images (image, content_type) values (l_blob, :content_type)
    returning id into l_id;
    commit;

    dbms_lob.freetemporary(l_blob);

    :status := 201;

    apex_json.open_object;
    apex_json.write(
        p_name => 'location',
        p_value => owa_util.get_cgi_env('REQUEST_PROTOCOL') ||
                   '://' ||
                   owa_util.get_cgi_env('SERVER_NAME') ||
                   owa_util.get_cgi_env('SCRIPT_NAME')||
                   owa_util.get_cgi_env('PATH_INFO') ||
                   '/' || l_id
    );
    apex_json.close_object;
exception
when e_file_too_big then
    :status := 500;
    apex_json.open_object;
    apex_json.write('message', 'File too big (max 100kb).');
    apex_json.write('remove', true);
    apex_json.close_object;
when others then
    :status := 500;
    apex_json.open_object;
    apex_json.write('message', 'Something wrong!');
    apex_json.write('remove', true);
    apex_json.close_object;
end;
Finally, we have to add the parameter X-ORDS-STATUS-CODE

GET handler
Create a new template with the following URI Template file/:id

Then create a new handler and fill in the form with the information below
Method: GET
Source Type: Media Ressource

Add the SQL query below in the Source editor:
select
      content_type
    , image
 from tinymce_images
where id = :id
Finally, configure the id parameter this way

We now have the endpoints configured to store and serve our images, let's configure the item.
Rich Text Editor configuration
The first step is to enable the image upload feature by adding the following code in the JavaScript Initialization Function of the page item.
function(options){
    // Add the plugin and the toolbar option
    options.editorOptions.plugins += " image";
    options.editorOptions.toolbar += " image";

    //Indicates the upload location
    options.editorOptions.images_upload_url = "YOUR_ENDPOINT_URL";

    //Disable relative url
    options.editorOptions.relative_urls = false;

    return options;
}
Run your page and you should be able to upload an image by clicking the image button on the toolbar or by pasting it into the editor.
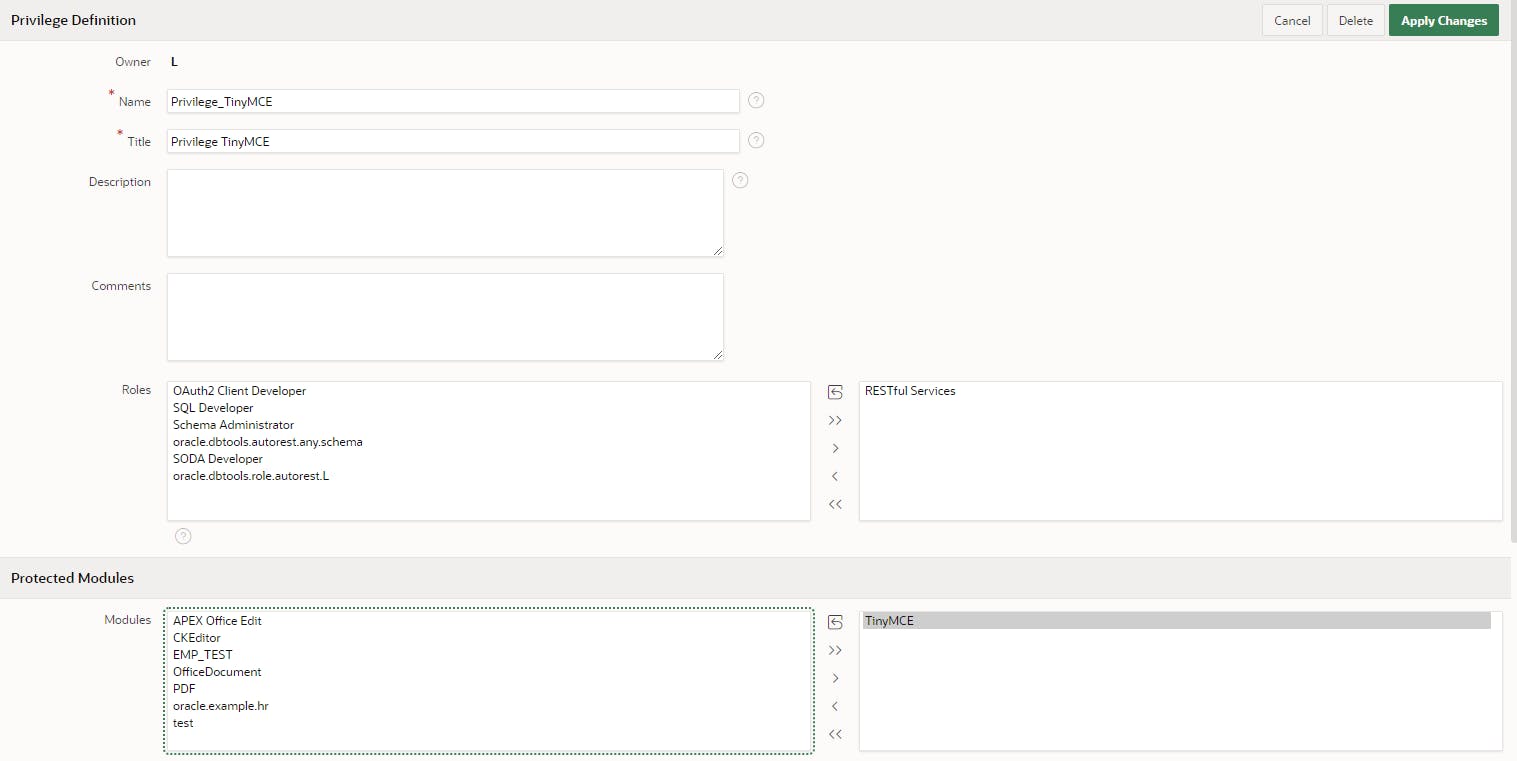
Securing the endpoints
The issue with the current implementation is that the endpoints are not protected meaning, anybody can upload and download files from there.
The first step is to protect the modules by creating a new privilege as shown in the screenshot below. Make sure to select the role RESTful Services and the TinyMCE module under Protected Modules
Now we will use the first-party authentication to access the endpoints, to do so, we have to update a few things in our APEX page.
First, we have to declare the apexSession variable that we will have to use when calling the RESTful service and we also need to declare a new function to upload the files as the default one doesn't support custom headers. The following code needs to be added to the Function and Global Variable Declaration attribute of the page. The image_upload_handler function is coming from the TinyMCE documentation with a few modifications to work with our endpoint (make sure to replace "REPLACE_BY_YOUR_ENDPOINT" with the actual endpoint URL).
let appId = apex.env.APP_ID;
let sessionId = apex.env.APP_SESSION;
let apexSession = appId + ',' + sessionId;

const image_upload_handler = (blobInfo, progress) => new Promise((resolve, reject) => {
  const xhr = new XMLHttpRequest();
  xhr.withCredentials = false;
  xhr.open('POST', 'YOUR_ENDPOINT_URL');
  xhr.setRequestHeader("Apex-Session", apexSession);

  xhr.upload.onprogress = (e) => {
    progress(e.loaded / e.total * 100);
  };

  xhr.onload = () => {
      console.log(xhr);
    if (xhr.status === 403) {
      reject({ message: 'HTTP Error: ' + xhr.status, remove: true });
      return;
    }

    if (xhr.status < 200 || xhr.status >= 300) {
        console.log(xhr.responseText);
        let err = JSON.parse(xhr.responseText)
      reject(err.message);
      return;
    }

    const json = JSON.parse(xhr.responseText);

    if (!json || typeof json.location != 'string') {
      reject('Invalid JSON: ' + xhr.responseText);
      return;
    }

    resolve(json.location + '?_apex_session=' + apexSession);
  };

  xhr.onerror = () => {
    reject('Image upload failed due to a XHR Transport error. Code: ' + xhr.status);
  };

  const formData = new FormData();
  formData.append('file', blobInfo.blob(), blobInfo.filename());

  xhr.send(formData);
});
Then we must update the Initialization JavaScript Function of the editor to use it
 function(options){
    // Add the plugin and the toolbar option
    options.editorOptions.plugins += " image";
    options.editorOptions.toolbar += " image";

    // Use the custom upload handler
    options.editorOptions.images_upload_handler = image_upload_handler;

    // Disable relative url
    options.editorOptions.relative_urls = false;

    // Replace the editor content
    options.editorOptions.init_instance_callback = (editor) => {
        editor.setContent(editor.getContent());
    }

    // Define the URL converter and enable it
    options.editorOptions.convert_urls = true;
    options.editorOptions.urlconverter_callback = function(url, node, on_save, name) {
        if (node === "img" && name === "src" ){
            url = url.split("?")[0] + '?_apex_session=' + apexSession;
            console.log(url);
        }
        return url;
    }

    return options;
}
I am not quite happy with the need to replace the editor content using the initialization callback and also with the fact that I have not found a way to store the URLs without the _apex_session query parameter. If someone found a way, please drop a comment on this post, it will be very appreciated 🙏
If you want to test it, follow this link
Conclusion
In this blog post, we have seen how to implement the image upload for the new Rich Text Editor in APEX 23.1 (TinyMCE). Even if I am not completely happy with the implementation I think it's a good start and I will keep digging to see if I can do it in a better way.